Hello!
I made this Bee Happy 6x6 one sheet wonder set using Echo Park’s Bee Happy designer papers. I love the cheery yellow and green on these papers and think it makes a nice gift set.
Here is the complete set with all the cards together.

I made the set using the 6x6 one sheet wonder instructions I did way back in 2013 that you can find here. The post shows the cutting layout I made back then to cut the pieces for the cards. Here is the layout I used, it’s a little blurry, but if you click the link for the post you can see it better.

Here are the individual cards:
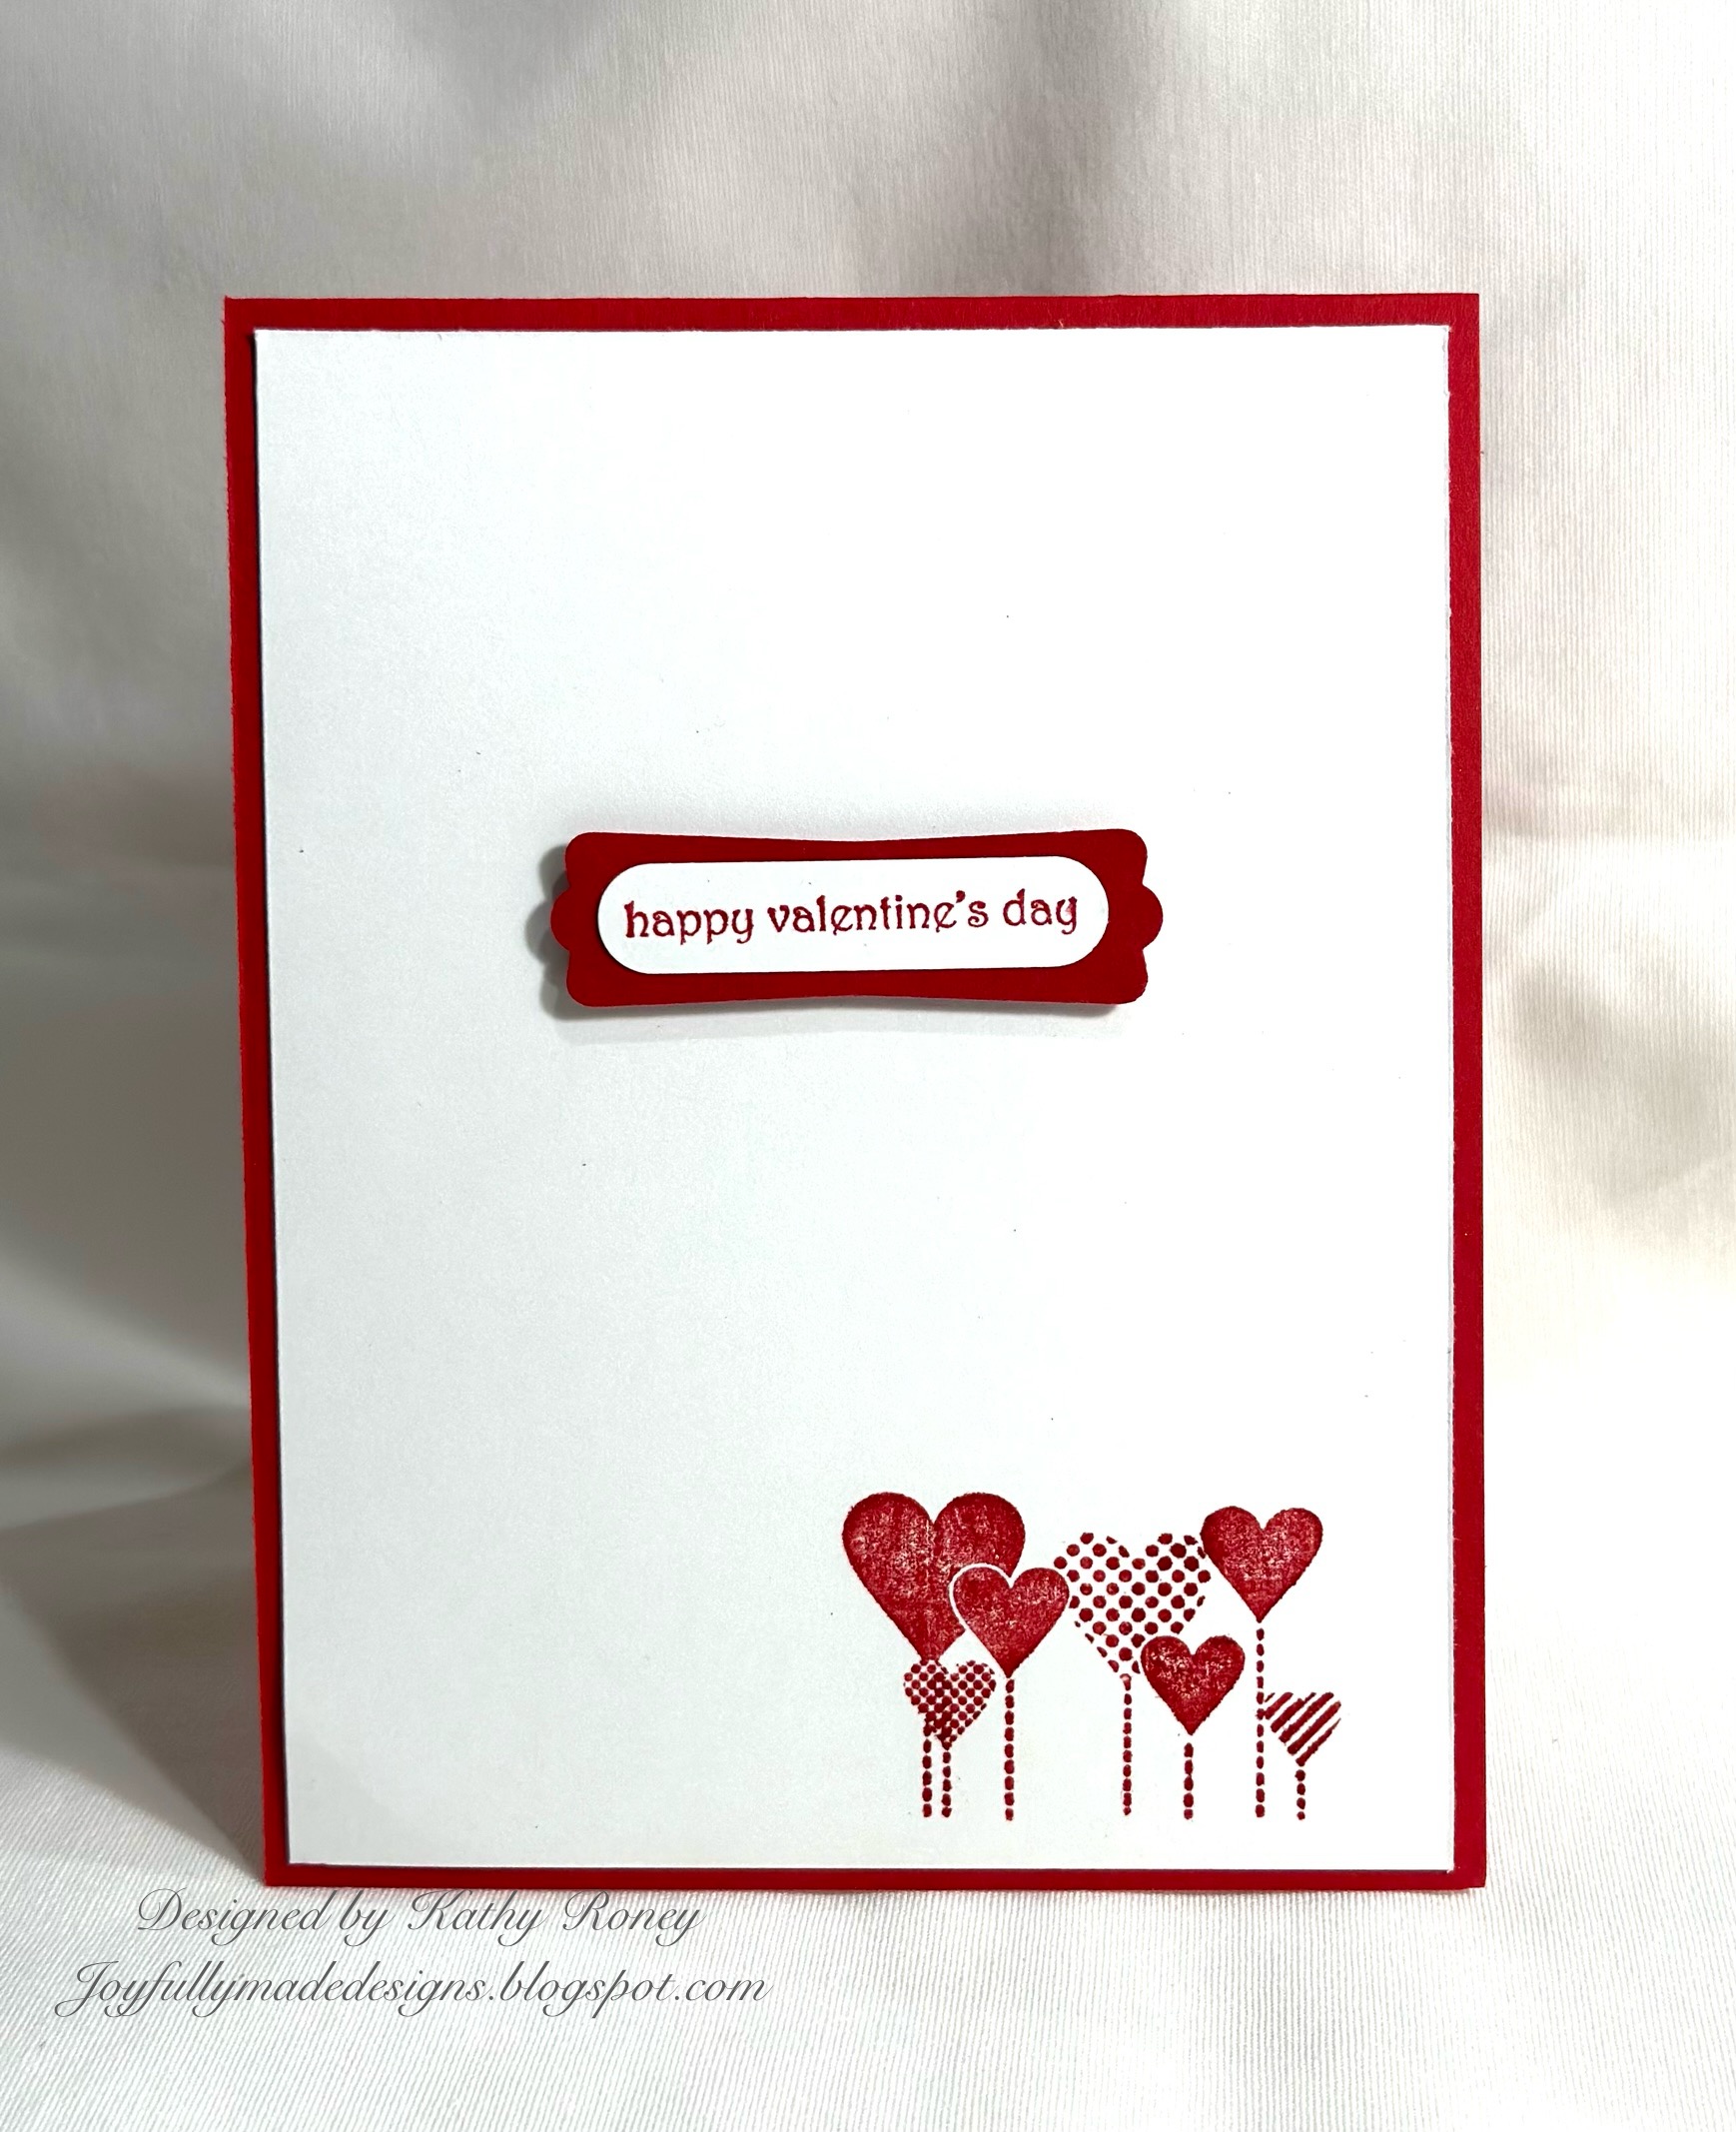
Card #1


Here is a picture of the Echo Park paper pack and the paper I used for the one sheet wonder. These one sheet wonder sets work best on designer papers that have 3 plus colors and the print is fairly small so you can see the designs even with small pieces.

Hope you enjoy this one sheet wonder project and it gives you a little inspiration!
Here are the items I used:
Stamps: Sincere Salutations (Stampin Up)
Ink: Onyx Black (VersaFine)
Paper: Bee Happy (Echo Park), white (Georgia Pacific), Spanish Moss, Sunshine, Antique Gold
Other Products: Wide Oval, Scalloped Oval punches, Square Lattice Embossing Folder (Stampin Up), white silk ribbon (May Arts), green buttons, Bow-Easy Tool, white floss
If you do use my design, would you please refer to my blog post. I did a google search yesterday and was surprised that people were using the exact same layout and putting their name on it. :(
Thank you for looking!
Blessings!
Kathy